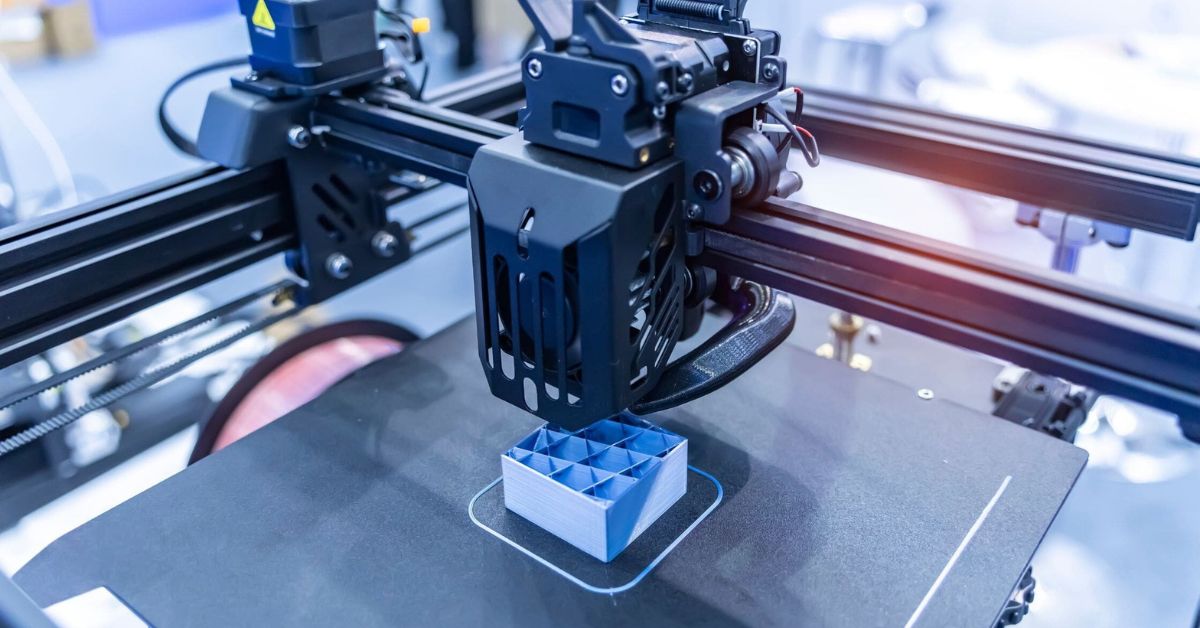
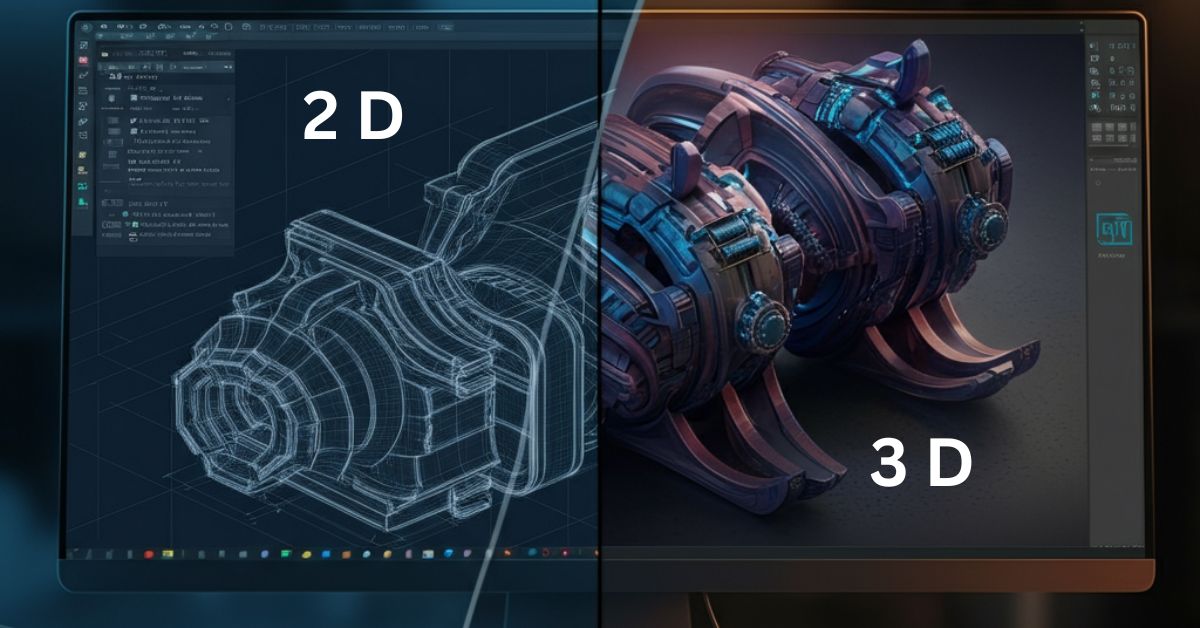
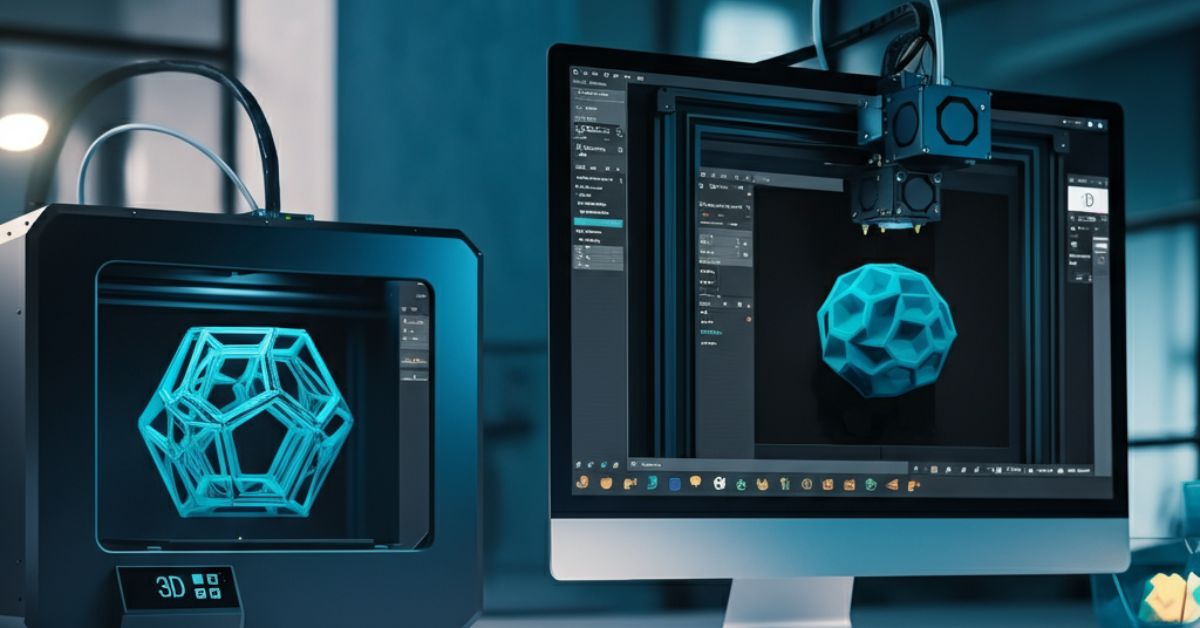
In the world of 3D printing, optimization is key to achieving high-quality prints while saving time and material. Whether you’re a hobbyist, a designer, or a professional, understanding how to optimize 3D models can significantly improve the speed, quality, and cost-efficiency of your prints. This post will guide you through the process of optimizing your 3D models, so you can print faster and better with minimal errors.
What is 3D Model Optimization?
3D model optimization is the process of adjusting your digital design to ensure it is suitable for 3D printing. This includes reducing unnecessary details, ensuring structural integrity, and making the model easy to print by minimizing errors. The goal is to have a model that can be printed quickly, with minimal waste and maximum accuracy.
Why Should You Optimize Your 3D Models?
Optimizing your 3D model offers several benefits:
- Faster Printing: Smaller, simpler models or models with fewer supports will print faster.
- Cost Efficiency: Optimized models use less material and energy, saving you money in the long run.
- Improved Print Quality: Well-optimized models have fewer chances of failing during the printing process, ensuring a smoother output.
- Less Post-Processing: Optimized models require fewer adjustments after printing, saving you time.
How to Optimize 3D Models for Better Printing?
1. Simplify Your 3D Model
One of the easiest ways to speed up your 3D printing process is to simplify your model. Complex designs with unnecessary details can lead to longer print times and increased material use.
How to Simplify Models:
- Remove Small Details: Tiny details might not be necessary, especially if they are smaller than the printer’s resolution can handle.
- Use Larger Features: Larger, simpler features are faster to print and more likely to succeed.
- Avoid Over-Complicating the Design: Stick to the essentials and avoid overly complex geometries unless needed for functionality.
2. Optimize Mesh Quality
A clean mesh is crucial for 3D printing. Models with poorly defined or corrupted meshes can cause printing failures or poor results.
How to Optimize Mesh Quality:
- Check for Non-Manifold Edges: These are edges that do not connect properly to other parts of the model. Use software tools like Meshmixer or Netfabb to identify and fix non-manifold issues.
- Repair Holes and Gaps: Ensure the model is solid and watertight, with no holes or gaps that can cause errors during printing.
- Simplify Triangular Meshes: Try to use fewer triangles where possible. Too many triangles can slow down the slicing process and affect print speed.
3. Use Appropriate Scale and Orientation
The scale of your model and its orientation during printing can greatly influence the final result. Proper scaling ensures that your design fits within the build volume, and correct orientation minimizes the use of supports and print time.
Tips for Scaling and Orienting:
- Check Build Volume: Ensure that your model fits within the printer’s build volume to avoid scaling down unnecessarily.
- Optimal Orientation: Place the model in a way that minimizes the need for supports. Consider the part’s geometry and how it will be supported during the print.
- Use the Printer’s Default Settings: Most 3D printing software includes automatic orientation features that will give you an optimal starting point.
4. Reduce the Need for Supports
Supports are essential for printing overhangs or complex geometries, but they can slow down printing and leave marks on the model. Minimizing the need for supports can help speed up printing and reduce the amount of material used.
How to Reduce Support Requirements:
- Design for Printability: Avoid steep overhangs and try to keep your model within a 45-degree angle for better stability during printing.
- Use Built-In Support Structures: Some 3D printers offer features like “tree supports” that are more efficient than traditional blocky supports.
- Split the Model: If your design requires overhangs or intricate features, consider splitting the model into parts that can be printed separately without the need for supports.
5. Optimize Wall Thickness and Infill Density
The thickness of the walls and the density of the internal infill affect both the strength and print time of your 3D model. Thicker walls and high infill density increase strength but also consume more material and extend print time.
Tips for Wall Thickness and Infill:
- Use Thin Walls: Unless you need strength in certain areas, thinner walls will print faster and use less material.
- Adjust Infill Settings: Use low-density infill (e.g., 10-20%) for non-structural parts to save material and time.
- Use Variable Infill: Some advanced slicer software allows for variable infill settings, which can optimize material usage while maintaining strength where necessary.
6. Choose the Right 3D Printing Material
The material you choose for 3D printing can greatly impact the speed, quality, and cost of your prints. Different materials have different properties, and selecting the right one can save you time and money.
How to Choose the Right Material:
- PLA for Simple Models: PLA is one of the easiest materials to print with and is suitable for most basic models. It’s fast, affordable, and does not require a heated bed.
- ABS for Durability: If you need a more durable, heat-resistant model, ABS is a good choice, though it may require a heated bed and proper ventilation.
- Flexible Materials: For models requiring flexibility, consider materials like TPU, but be aware that they might take longer to print.
7. Use Slicing Software to Optimize the Model
The slicing software you use to prepare your 3D model for printing plays a major role in optimization. These tools allow you to set print parameters like layer height, print speed, and support structures.
Popular Slicing Software:
- Cura: A widely used slicing software that offers a wide range of customizable settings for model optimization.
- PrusaSlicer: Known for its user-friendly interface and advanced features, PrusaSlicer is a great tool for those looking to optimize prints.
- Simplify3D: An advanced slicer with great control over print settings, support generation, and post-processing features.
8. Consider the Printing Technology
Different 3D printing technologies come with their own set of requirements and constraints. Understanding your printer’s capabilities can help you make more informed decisions during the optimization process.
Common 3D Printing Technologies:
- FDM (Fused Deposition Modeling): The most common consumer-level technology. Optimize by ensuring your model is properly oriented and has minimal overhangs.
- SLA (Stereolithography): Uses a laser to cure liquid resin. Models require good resin compatibility and correct orientation to avoid distortion.
- SLS (Selective Laser Sintering): A powder-based method that allows for more complex shapes but might require careful consideration of the powder bed and part orientation.
Trending FAQs About 3D Model Optimization
1. What is the best way to reduce the file size of a 3D model without compromising quality?
Reducing file size can be achieved by simplifying the geometry, reducing the number of polygons, and using compression tools like Meshmixer or STL repair software. Make sure to maintain essential details while eliminating unnecessary ones.
2. How can I ensure my 3D model is printable without errors?
Check for common issues such as non-manifold edges, holes, and inverted normals. Use software like Netfabb or Meshmixer to fix these issues. Additionally, make sure the model fits within the printer’s build volume.
3. What are the most common mistakes to avoid when optimizing a 3D model for printing?
Common mistakes include neglecting to check the scale of the model, not properly orienting the model for printability, using overly detailed meshes, and forgetting to adjust wall thickness and infill density.
4. How do I choose the right support structures for 3D printing?
Use automatic support generation features in slicing software and consider the model’s geometry. For minimal support, keep overhang angles under 45 degrees. Choose support structures that are easy to remove and leave minimal marks.
5. What software tools are best for optimizing 3D models for faster printing?
Popular tools include Meshmixer, Netfabb, PrusaSlicer, Cura, and Simplify3D. These tools help streamline the optimization process by repairing models, adjusting mesh complexity, and optimizing slicing settings.
Conclusion
Optimizing 3D models for faster and better printing is a crucial step in maximizing efficiency and reducing costs. By simplifying your models, checking mesh integrity, using appropriate materials, and fine-tuning slicing settings, you can ensure that your prints are faster, higher quality, and more reliable. With the right tools and techniques, you’ll be able to tackle complex 3D printing challenges with ease and confidence.

